Using ox-Hugo
Jan 17, 2026Hugo is a static website generator written with GO, providing easily capability to convert markdown files into a website. For those who use emacs Org mode , one can use ox-hugo to convert Org files into markdown files that will be compatible with Hugo. Hence the workflow is:
\[\mathrm{Org} \\ \xrightarrow{\text{ox-hugo}} \\ \mathrm{markdown} \\ \xrightarrow{\text{Hugo}} \\ \mathrm{HTML}\]
For me, I use it to create my research journal and personal website.
Here I describe different ways of writing things in Org mode that can be
re-interpreted by ox-hugo to generate the corresponding md files that
can be used by Hugo for my own records.
Setup
There are two types of blogging workflow using ox-hugo.
- One Org file per post
- One Org subtree per post
It is generally preferred to do it the second way, i.e. use one Org file for multiple posts where we have one Org subtree per post.
Now Hugo introduces the idea of page bundles for better content management.
There are two types:
- leaf bundle: uses the name index.md to store the text
- branch bundle: ues the name _index.md to store the text
See here to see how ox-hugo exports files as bundles.
My personal workflow is to use branch bundle as sections and leaf bundle for specific entries. For example, my typical structure goes like:
 1content-org/
 2├── posts/
 3│   ├── _index.md
 4│   ├── post1/
 5│   │   ├── index.md
 6│   │   └── img1.png
 7│   └── post2/
 8│       ├── index.md
 9│       └── img2.png
10└── about/
11    └── _index.md
where I use branch bundle, using _index.md, to symbolize a section. And then use leaf bundles, using index.md, for each individual post.
Ordered and Unordered List
Here is an unordered list:
- Apple
- Orange
- Pear
Here is an ordered list:
- Dog
- Cat
- Rabbit
Typographical Emphasis and Horizontal Line
Different text formatting are available
- bold text via
* * - italic text via
/ / crossout textvia+ +highlight textvia~ ~or= =
A horizontal line can be created for formatting via 5 consecutive dashes.
1-----
which looks like
Footnote
You can create footnotes via the same Org-mode syntax.
Put the footnote as [fn:#] where # is the footnote number.
Then create the definition of footnote separately via
[fn:#] footnote definition1
Example, Quotes, and Code
You can create a simple text block via
1#+begin_example
2  This is pure text.
3#+end_example
You can create a quote block via
1#+begin_quote
2This is a great quote by me.
3
4  -- Me
5#+end_quote
which looks like
This is a great quote by me.
– Me
You can also create code blocks, where you specify the language after #+begin_src, i.e.
 1#+begin_src python
 2  import numpy as np
 3
 4  class Cat:
 5      def __init__(self, name, numWhiskers, weight):
 6          self.name = name
 7          self.numWhiskers = numWhiskers
 8          self.weight = weight
 9
10      def talk(self):
11          print("Meow!")
12
13  myCat = Cat("Nian", 20, 10)
14  myCat.talk()
15#+end_src
which will render as
 1import numpy as np
 2
 3class Cat:
 4    def __init__(self, name, numWhiskers, weight):
 5        self.name = name
 6        self.numWhiskers = numWhiskers
 7        self.weight = weight
 8
 9    def talk(self):
10        print("Meow!")
11
12myCat = Cat("Nian", 20, 10)
13myCat.talk()
Hyperlink and Online Image
See here for more information.
ox-hugo converts hyperlinks using the standard
Org mode hyperlink syntax :
1[[LINK][DESCRIPTION]]
The DESCRIPTION part is optional.
If it is omitted, the LINK itself is displayed on the website.
If both LINK and DESCRIPTION are provided, the website displays
DESCRIPTION, and clicking on it navigates to LINK.
The DESCRIPTION can be plain text or an image.
For example, here is a hyperlinked text to wikipedia .
To display image on the website, we typically want to format it somehow. The common syntax are the following:
1#+NAME: IMG_NAME
2#+ATTR_HTML: :width 100%
3#+CAPTION: Here is a caption
4[[IMG_LINK][DISPLAY_IMG_LINK]]
#+NAME is the name used to reference the image via [[IMG_NAME]].
#+ATTR_HTML sets the attributes for html. See here for more info.
And the main one to use is :width, which controls the width of the
image displayed. Lastly we have #+CAPTION, which writes the caption
under the displayed image. Again, DISPLAY_IMG_LINK is optional,
and if it is omitted, image from IMG_LINK gets displayed.
If it is not omitted, then the website shows image from DISPLAY_IMG_LINK,
and clicking on it navigates to IMG_LINK.
For example, Figure 1 is an image via an external link.

Figure 1: Carina Nebula by James Webb Telescope
Figure 2 is where both IMG_LINK and DISPLAY_IMG_LINK are
set to the external image link. Hence clicking on this image
navigates to the original website.
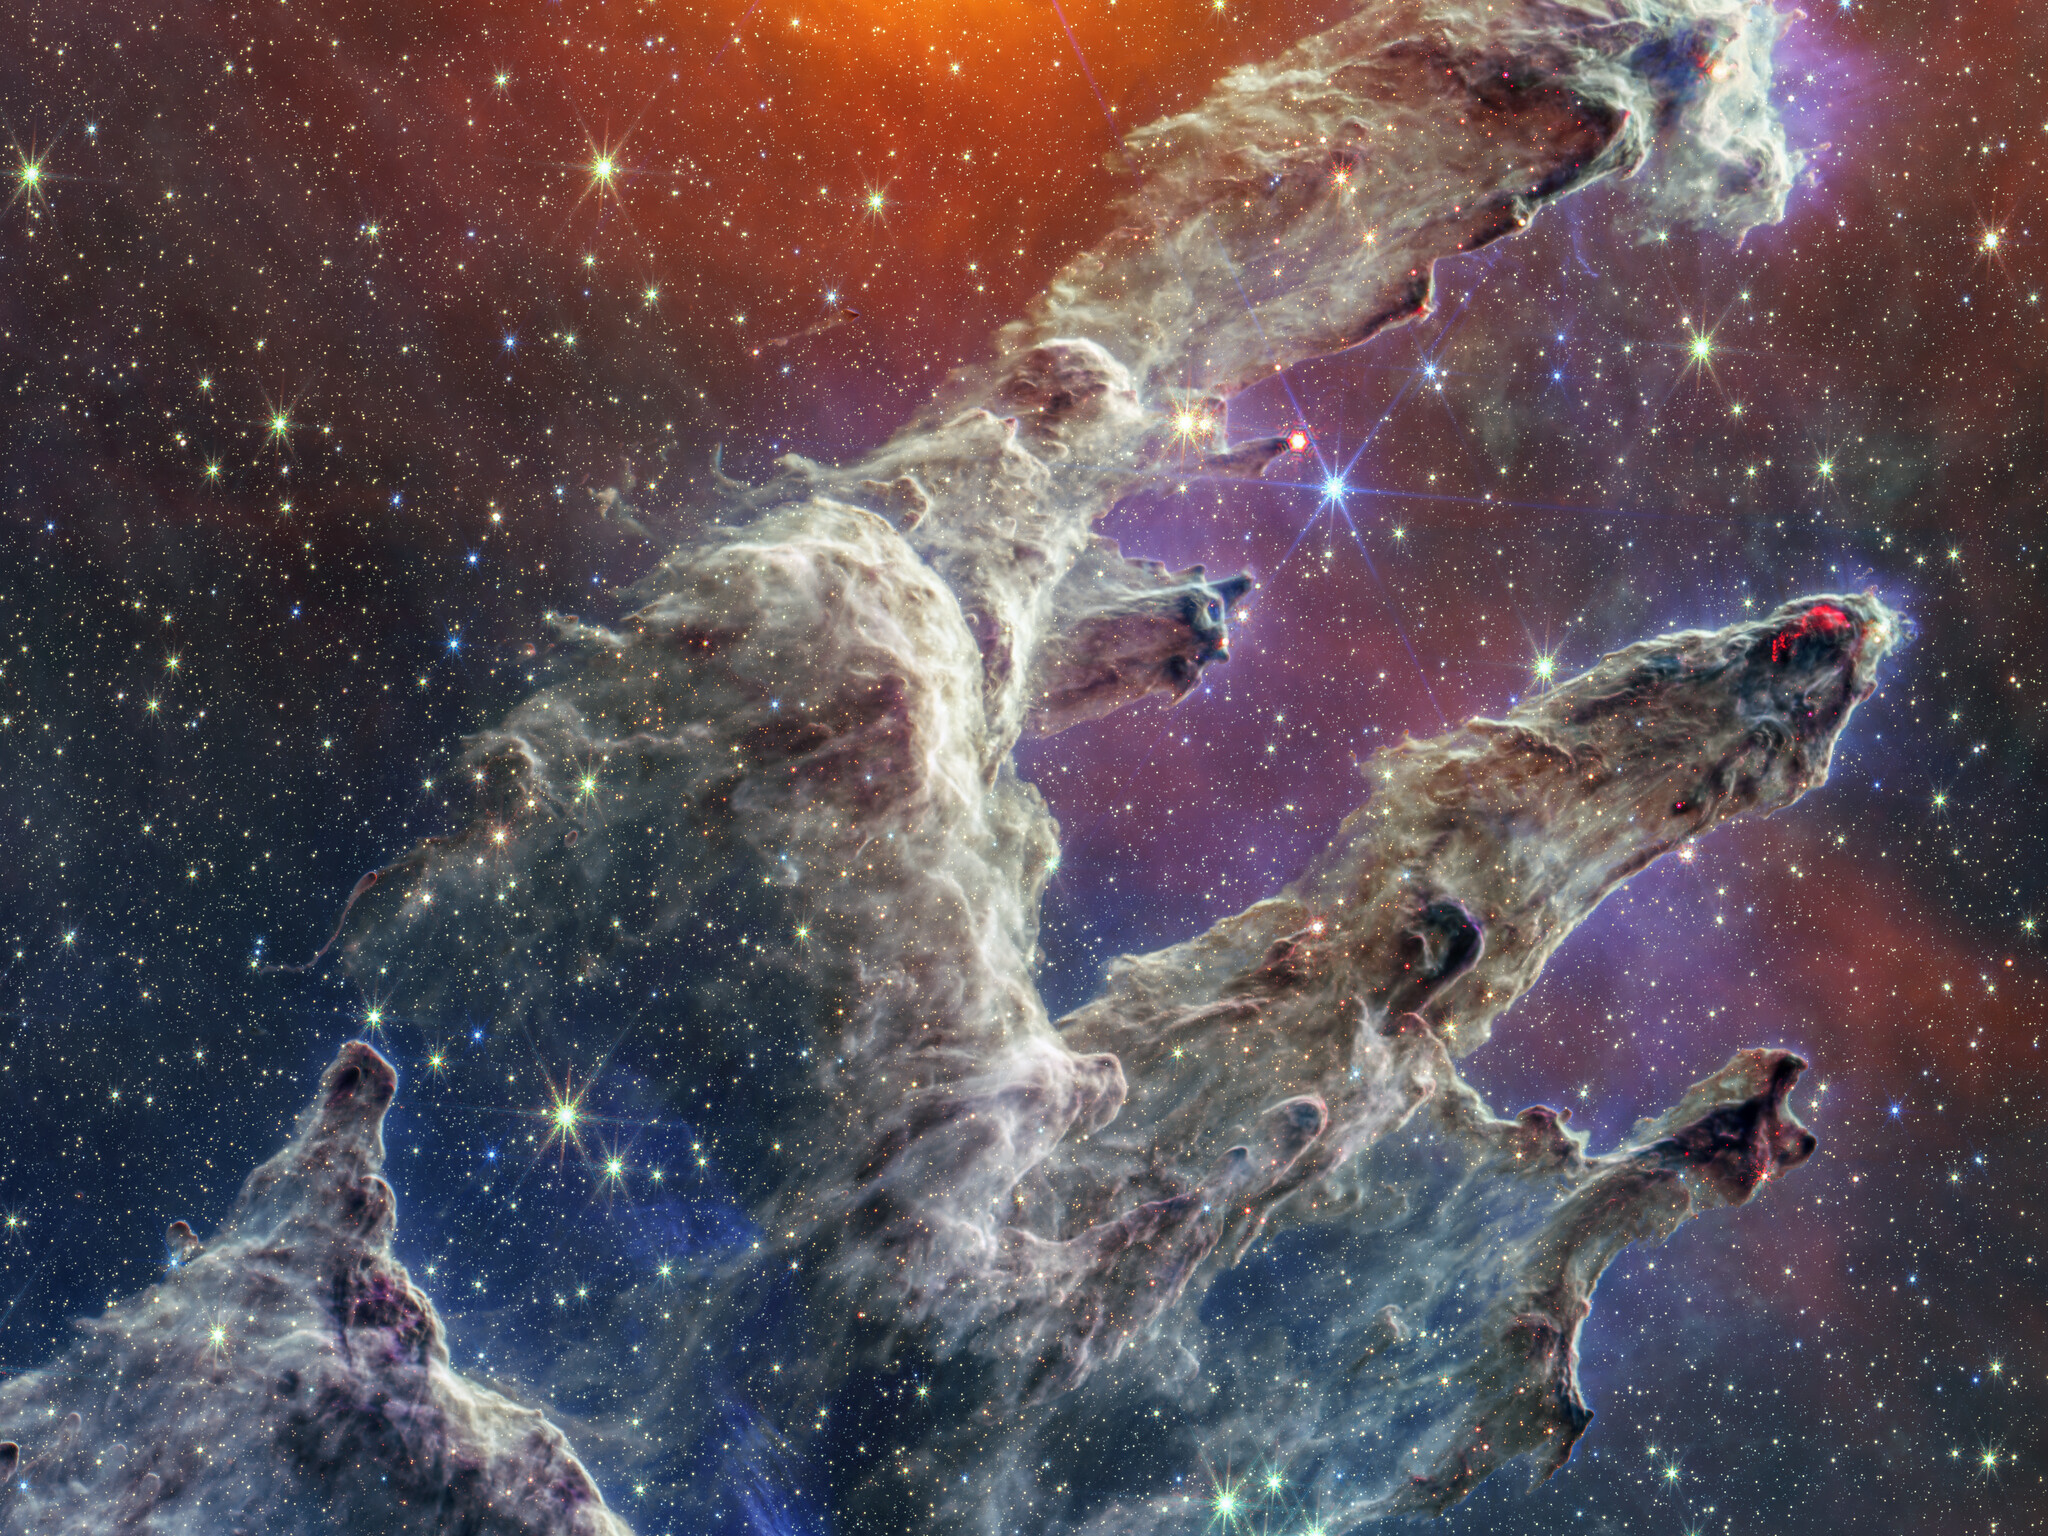
Figure 2: Pillar of Creation by James Webb Telescope
Local Images and Videos
We often want to display local images instead of online images.
Hence we need to link the local images.
Let’s first discuss how Hugo handles it, and then talk about
how ox-hugo can be integrated into the workflow along with Org mode.
Hugo generally has two options for storing images that will
be accessible and linked by md files stored in content/.
See here for some good explanation.
- Store all images in
static/directory. - Use leaf bundles and store images within the directory that contains
the
index.mdthat links the images.
By default, the html files that Hugo generates live in the public/
directory, and that serves as the root directory.
Hugo also copies all subdirectories that lives in static/ to
public/, so the conventional way of storing images is to
store them in static/, or perhaps create a subdirectory, say images/
and put images there. Suppose the Hugo base directory is named as hugo,
then the structure goes like
1hugo/
2├── other subdirs
3└── static/
4    └── images/
5        └── img1.png
Then the image can be accessed via the following (see here for more information),
which is to basically access via absolute path after the website is built,
where it is assumed that the public/ directory acts as the root directory for
the website.
1[[/images/img1.png]]
i.e.

Figure 3: Nian Nian raising her hand (feet)
This has two major downsides:
- Images for every posts lives here. You can imagine it being difficult to manage. Although you can create subdirectories to hold images for each post.
- For Org mode users who uses ox-hugo, the hyperlinked image cannot be opened or accessed within the org file. This is because the link is neither a valid absolute link nor relative to where org file lives.
Now the second way of accessing images, using leaf bundles is my preferred way. A leaf bundle is basically a post that uses the name index.md to store the text. Now we can store images in the same directory as index.md and then we will be able to access it via relative link.
For example, if the structure goes like:
1hugo/
2├── other subdirs
3└── content/
4    └── posts/
5        └── post1/
6            └── index.md
7            └── img1.png
Then we can access it in index.md via
1
However, for Org mode users, we typically only want to work with content-org/
directory, and have ox-hugo to auto generate everything to content/.
This means that we wish to work with a structure like:
1hugo/
2├── other subdirs
3├── content
4└── content-org/
5    └── posts/
6        └── post.org
7        └── post1/
8            └── img1.png
where post.org holds all possible post entries. Suppose that we have
a single post named as post1, and it uses image img1.png. Now we can access
this image in the Org file using the relative link.
1[[file:post1/img1.png]]
However, Hugo won’t recognize this since img1.png does not belong to the same
directory as index.md which will be auto generated by ox-hugo.
To solve this issue, ox-hugo has a unique feature which will auto copy local attachments
with extensions listed in org-hugo-external-file-extensions-allowed-for-copying.
(see here for more information).
For example, I have
1(setq org-hugo-external-file-extensions-allowed-for-copying
2    '("JPG" "PNG" "JPEG" "GIF" "SVG" "PDF" "MP4"
3      "jpg" "png" "jpeg" "gif" "svg" "pdf" "mp4"))
Now if the Org post is leaf bundle, i.e. for the Org subtree, we set the output file name to be index.md and set the directory where the bundle lives, i.e. post1.
1:EXPORT_FILE_NAME: index
2:EXPORT_HUGO_BUNDLE: post1
Now we can simply reference the image as following,
and img1.png will then be auto-copied to content/post/post1/img1.png.
1[[file:post1/img1.png]]
i.e.

Figure 4: This is Nian Nian
Note that using the prefix file: is needed to use local
link for DISPLAY_IMG_LINK for local image files in order
to properly display the image. It is optional for IMG_LINK
but it doesn’t hurt. So generally speaking, always start
your local image link with file:.
Math Expressions and LaTeX
There are different ways to write math expressions. See here for more info.
- Inline math via
$ EXPRESSION $, e.g. $ e=mc^2$ - Math block via
$$ EXPRESSION $$, e.g. \[ i\hbar \frac{\partial}{\partial t} \Psi(\mathbf{r}, t) = \hat{H} \Psi(\mathbf{r}, t) \] - Math block via LaTex:producing:
1\begin{equation}
2  \label{eq:euler} \tag{1}
3  \frac{\partial }{\partial t}\left( \rho \vec{U} \right) + \nabla \cdot \left(\rho \vec{U} \otimes \vec{U} \right) + \nabla p = 0
4\end{equation}
\begin{equation} \label{eq:euler} \frac{\partial}{\partial t}\left( \rho \vec{U} \right) + \nabla \cdot \left(\rho \vec{U} \otimes \vec{U} \right) + \nabla p = 0 \end{equation}
If you wish to reference the equation, you should use LaTeX environment and
you can reference it via \ref{label}, where label is the label you set via \label{}.
For example, here is Eq. \ref{eq:euler}.
Note that to get this working, the ams tag needs to be present
in your MathJax setting, which is typically stored in math.html.
My math.html looks like:
 1<script id="MathJax-script" async src="https://cdn.jsdelivr.net/npm/mathjax@3/es5/tex-chtml.js"></script>
 2<script>
 3  MathJax = {
 4      tex: {
 5          tags: 'ams',
 6          displayMath: [['\\[', '\\]'], ['$$', '$$']],  // block
 7          inlineMath: [['\\(', '\\)'], ['$', '$']]      // inline
 8    }
 9  };
10</script>
To preview compiled LaTeX within Org mode, one can use command C-x C-l.
The footnote definition appears at the bottom of the page. ↩︎